Ubuntu 20.04 优化
- 6 分钟阅读
- CC BY-SA 4.0

Ubuntu 20.04 优化
原来在用
Ubuntu 19.10,通过 do-release-upgrade 升级到 Ubuntu 20.04 后,因为一些配置出现了些奇怪的问题,索性重新安装了一次。记录一下安装优化过程。
基础优化
1、换软件源
在 Dash 里搜索 软件和更新,依次点击 Ubuntu 软件 - 下载自 - 其他站点 - 中国:
然后选择一个源服务器,推荐阿里云和清华:
- mirrors.aliyun.com
- mirrors.tuna.tsinghua.edu.cn
sudo cp -r /etc/apt/sources.list/etc/apt/sources.list.bak
sudo sed -i "s/\/\/.*archive.ubuntu.com/\/\/mirrors.aliyun.com/g;s/\/\/.*security.ubuntu.com/\/\/mirrors.aliyun.com/g" /etc/apt/sources.list
然后 update 一下:
sudo apt update
sudo apt upgrade
2、系统设置
在 系统设置 里按自己的习惯设置即可。
3、安装 GNOME Tweaks
sudo apt install gnome-tweak-tool
4、去鼠标加速
对于 FPS 玩家,尤其推荐去掉鼠标加速。
4.1. 在 GNOME Tweaks 点击 键盘和鼠标 在 鼠标-加速配置 里选择 Flat。
4.2. 在 系统设置 里 设备-鼠标和触摸板-鼠标-鼠标速度 调节自己适应的鼠标速度。
5、鼠标滚轮速度
下载安装 MouseWheel
6、Sudo 免密码
常用的个人电脑,是可以运行 sudo 免输密码的,公用电脑不建议这样设置。
进入超级用户,注意 su 后面的 -。
su -
vim /etc/sudoers
在 root ALL=(ALL:ALL) ALL 下一行添加:
eallion ALL=(ALL:ALL) ALL
在 % sudo ALL=(ALL:ALL) ALL 下一行添加:
eallion ALL=(ALL:ALL) NOPASSWD:ALL
替换其中的 eallion 用户名。
7、安装 Gdebi
sudo apt install gdebi
安装 deb 软件包时,可以用 GDebi 替换 Ubuntu 软件中心。
8、安装 Chrome
9、安装 Fcitx 五笔拼音
9.1、传统的 Fcitx 五笔拼音
sudo apt install fcitx-table-wbpy
主题: https://github.com/Yucklys/fcitx-nord-skin
主题: https://github.com/Sakitami/fcitx-themes-package
自定义标点符号:
sudo vim ~/.config/fcitx/data/punc.mb.zh_CN
添加下面的符号,如果不符合习惯请自行修改。
~ ~
` `
! !
@ @
# #
$ ¥
% ␣
^ ⋯⋯
& ÷
* *
( (
) )
_ ——
- -
+ +
= =
| |
\ 、
{ 『 』
} 〖 〗
[ 【
] 】
: :
; ;
" “ ”
' ‘ ’
< 《
> 》
, ,
. 。
? ?
9.2、Fcitx5-rime 中州韵
sudo apt install fcitx5 fcitx5-pinyin fcitx5-chinese-addons fcitx5-frontend-gtk2 fcitx5-frontend-gtk3 fcitx5-frontend-qt5
sudo add-apt-repository ppa:hosxy/fcitx5
sudo apt update
sudo apt install kde-config-fcitx5
安装 Kimpanel: https://github.com/wengxt/gnome-shell-extension-kimpanel
主题: https://github.com/hosxy/Fcitx5-Material-Color
主题: https://github.com/hosxy/Fcitx5-Materia-EXP
9.3、其他输入法请自行 Google
到目前为止,国产的那几个输入法 Linux 版都不太好用。
10、Preload
Preload 是一个后台运行的守护进程,它分析用户行为和频繁运行的应用,让你更快打开常用的软件。
sudo apt install preload
11、安装 TLP 和 CPUFREQ
若有需要
减少过热和使用节能模式。
sudo add-apt-repository ppa:linrunner/tlp
sudo apt update
sudo apt install tlp tlp-rdw
sudo tlp start
安装 CPUFREQ 指示器:
sudo apt install indicator-cpufreq
重启你的电脑即可在指示器上选择 Powersave 模式。
12、提高 Apt 下载速度 Apt-fast
现在的大宽带感觉不需要
apt-fast 是 apt 的一个 shell 脚本包装器,通过从多连接同时下载包来提升更新及包下载速度。
如果你经常使用终端以及 apt 来安装和更新包,你也许会想要试一试 apt-fast。
安装 apt-fast:
sudo add-apt-repository ppa:apt-fast/stable
sudo apt update
sudo apt install apt-fast
13、双系统时间设置
解决切换到 Windows 发现时间不对的问题。
sudo apt install ntpdate
sudo ntpdate ntp.aliyun.com #阿里云的时间服务器
sudo hwclock --localtime --systohc #将时间更新到硬件上
14、安装 Guake
直接安装的 Guake 版本不够新,而且中文显示不全。
推荐源码安装:
sudo apt update
sudo apt -y install git curl wget
cd ~
git clone https://github.com/Guake/guake.git
cd guake
./scripts/bootstrap-dev-debian.sh run make
make
sudo make install
Ubuntu 20.04 默认终端的背景色:#300a24
如果需要直接从软件仓库安装(版本比较旧):
sudo apt install guake
15、安装 Guake indicator
sudo apt install guake-indicator
16、安装 Oh My Zsh
安装 Zsh:
sudo apt update
sudo apt install zsh
将 Zsh 设置为默认 Shell:
chsh -s /bin/zsh
查看当前所用的 Shell:echo $SHELL。
安装 Oh My Zsh:
以下几种方式选择 1 种:
Via curl
sh -c "$(curl -fsSL https://raw.githubusercontent.com/ohmyzsh/ohmyzsh/master/tools/install.sh)"Via wget
sh -c "$(wget -O- https://raw.githubusercontent.com/ohmyzsh/ohmyzsh/master/tools/install.sh)"Via fetch
sh -c "$(fetch -o - https://raw.githubusercontent.com/ohmyzsh/ohmyzsh/master/tools/install.sh)"Manual inspection
curl -Lo install.sh https://raw.githubusercontent.com/ohmyzsh/ohmyzsh/master/tools/install.sh
sh install.sh
字体可以安装 Powerline,但是推荐安装符号更全的 Ubuntu Nerd Font 或者 Knack Nerd Font Mono。在 Guake 里设置好。
下载后直接安装字体即可。
安装主题 Powerlevel9k:
git clone https://github.com/bhilburn/powerlevel9k.git ~/.oh-my-zsh/custom/themes/powerlevel9k
安装插件:
# autojump 切换目录
sudo apt install autojump

# fasd 快速访问文件或目录
sudo apt install fasd

# zsh-autosuggestions 历史命令建议
git clone https://github.com/zsh-users/zsh-autosuggestions ${ZSH_CUSTOM:-~/.oh-my-zsh/custom}/plugins/zsh-autosuggestions

# zsh-syntax-highlighting 命令行语法高亮
git clone https://github.com/zsh-users/zsh-syntax-highlighting.git ${ZSH_CUSTOM:-~/.oh-my-zsh/custom}/plugins/zsh-syntax-highlighting
设置 Oh My Zsh:
vim ~/.zshrc
需要修改如下几个地方:
    ******
POWERLEVEL9K_MODE='nerdfont-complete'
ZSH_THEME="powerlevel9k/powerlevel9k"
POWERLEVEL9K_LEFT_PROMPT_ELEMENTS=(context dir dir_writable disk_usage vcs newline)
POWERLEVEL9K_RIGHT_PROMPT_ELEMENTS=(status root_indicator background_jobs history time)
    ******
ENABLE_CORRECTION="true"
    ******
COMPLETION_WAITING_DOTS="true"
    ******
plugins=( git extract fasd zsh-autosuggestions zsh-syntax-highlighting docker docker-compose)
    ******
让配置生效:
source ~/.zshrc
17、配置 Vim
- spf13-vim
- EverVim
https://github.com/LER0ever/EverVim
Ubuntu 配置 EverVim https://eallion.com/ubuntuevervim/
18、配置 Grub 引导
18.1、常规安装的 Ubuntu 配置 Grub
用 Grub-customizer 即可
sudo apt install grub-customizer
如果独立显卡在引导界面开机黑屏:将 nomodeset 加到 /etc/default/grub 即可。
18.2、ZFS 文件系统配置 Grub
1、验证是否为 ZFS 文件系统:
sudo grub-probe /boot
2、刷新一下初始根磁盘:
sudo update-initramfs -c -k all
3、禁止内存清零:
sudo vim /etc/default/grub
添加 init_on_alloc=0 参数到 GRUB_CMDLINE_LINUX_DEFAULT 里:
GRUB_CMDLINE_LINUX_DEFAULT="init_on_alloc=0"
4、一些建议的设置(非必要)
# GRUB_TIMEOUT_STYLE=hidden # 注释掉这一行
GRUB_TIMEOUT=5
GRUB_RECORDFAIL_TIMEOUT=5
GRUB_CMDLINE_LINUX_DEFAULT="nomodeset init_on_alloc=0"
GRUB_TERMINAL=console
5、更新配置
sudo update-grub
6、安装引导
BIOS 引导
sudo grub-install $DISKUEFI 引导
sudo grub-install --target=x86_64-efi --efi-directory=/boot/efi \
--bootloader-id=ubuntu --recheck --no-floppy
UEFI RaidZ (多个磁盘的话需要多次安装)
sudo cp -a /boot/efi/EFI/boot/efi2
sudo grub-install --target=x86_64-efi --efi-directory=/boot/efi2 \
--bootloader-id=ubuntu-2 --recheck --no-floppy
7、禁用 grub-initrd-fallback.service:
sudo systemctl mask grub-initrd-fallback.service
8、修复文件系统挂载顺序
sudo mkdir /etc/zfs/zfs-list.cache
sudo touch /etc/zfs/zfs-list.cache/bpool
sudo touch /etc/zfs/zfs-list.cache/rpool
sudo ln -s /usr/lib/zfs-linux/zed.d/history_event-zfs-list-cacher.sh/etc/zfs/zed.d
sudo zed -F &
sudo cat /etc/zfs/zfs-list.cache/bpool
sudo cat /etc/zfs/zfs-list.cache/rpool
sudo zfs set canmount=noauto bpool/BOOT/ubuntu_$UUID
sudo zfs set canmount=noauto rpool/ROOT/ubuntu_$UUID
fg
Press Ctrl-C.
sudo sed -Ei "s|/mnt/?|/|" /etc/zfs/zfs-list.cache/*
19、自动挂载硬盘
查看硬盘的 UUID 和 Type:
sudo blkid
记录下 UUID 和 Type。
创建挂载目录:
cd ~
sudo mkdir Files
sudo chown -R eallion:eallion Files
查看自己的 uid gid:
id eallion
编辑配置文件:
sudo vim /etc/fstab
按格式添加:
UUID=xxxx /mount-folder type defaults 0 0
如:
UUID=0002AC    /home/eallion/Files    ntfs    defaults,uid=1000,gid=1000,umask=022    0    0
UUID=0002AD    /home/eallion/Media    ntfs    defaults,uid=1000,gid=1000,umask=022    0    0
如果不加 uid gid,自动挂载后是 root 权限,可能无法读写。
20、安装 Openssh-Server
sudo apt install openssh-server
配置 Google Authenticator:(非必须,可选)
如果不打算用二次验证登录,不要执行下面的步骤
sudo apt install libpam-google-authenticator
生成二维码:
google-authenticator
修改配置以加载 Google-authenticator:
sudo vim /etc/pam.d/sshd
添加:
auth required pam_google_authenticator.so
修改 SSH 配置:
sudo vim /etc/ssh/sshd_config
ChallengeResponseAuthentication yes

Port 65537     # 修改自己想要的 SSH 端口
21、火焰截图 Flameshot
sudo apt install flameshot
设置截图快捷键:系统设置 - 设备 - 键盘快捷键 - 自定义快捷键 点加号添加一个:
名称:flameshot
命令:flameshot gui
设置快捷键:(按键盘设置)
22、禁用 HDMI 默认音频输出
Ubuntu 20.04.1 好像没有这个问题了
当主机接有音响、耳机、HDMI 设备的话,Ubuntu 默认是采用 HDMI 输出音频。
Ubuntu 自带的声音设置修改后不能保存,下次又还原成默认的。
安装 PulseAudio:
sudo apt install pavucontrol
然后按 Super 键在 Dash 中打开 PulseAudio,在 设备 选项卡中关闭 HDMI 即可。
23、安装附加软件包
sudo apt install ubuntu-restricted-extras
24、安装 Docker
sudo apt remove docker docker-engine docker.io containerd runc
sudo apt install -y apt-transport-https ca-certificates curl gnupg-agent software-properties-common
curl -fsSL https://download.docker.com/linux/ubuntu/gpg | sudo apt-key add -
sudo add-apt-repository "deb [arch=amd64] https://download.docker.com/linux/ubuntu $(lsb_release -cs) stable"
sudo apt install -y docker-ce docker-ce-cli containerd.io
检查是否安装成功:
docker version
sudo docker run hello-world
安装 Docker Compose:
sudo curl -L "https://github.com/docker/compose/releases/download/1.27.1/docker-compose-$(uname -s)-$(uname -m)" -o /usr/local/bin/docker-compose
sudo chmod +x /usr/local/bin/docker-compose
sudo ln -s /usr/local/bin/docker-compose/usr/bin/docker-compose
Docker 属于高频操作,运行 Docker 时,免去 sudo
sudo groupadd docker
sudo usermod -aG docker $USER
reboot
newgrp docker
sudo chown "$USER":"$USER" /home/"$USER"/.docker -R
sudo chmod g+rwx "$HOME/.docker" -R
25、安装 Nginx Mysql PHP
26、ZFS 文件系统加密 Home 目录
建议在安装之前加密硬盘 https://eallion.com/ubuntu-zfs-root-encryption
教程: https://eallion.com/ubuntu-zfs-encryption
27、安装 Gnome Shell Extensions
27.1. 安装浏览器插件
- Chrome : GNOME Shell integration
- Firefox: https://extensions.gnome.org
27.2. 安装 Gnome Shell Extensions
sudo apt install gnome-shell-extensions
27.3. 安装扩展
- Applications Menu
- Applications Overview Tooltip
- Auto Move Windows
- Clipboard Indicator
- Coverflow Alt-Tab
- Dash to Dock
sudo gnome-extensions disable ubuntu-dock@ubuntu.com
- Desktop Icons
- GSConnect
- Hide Top Bar
- Horizontal workspaces
- Launch new instance
- Lunar Calendar 农历
sudo apt install gir1.2-lunar-date-2.0- 启用前先禁用 Panel Date Format 扩展
- Native Window Placement
- OpenWeather
- Places Status Indicator
- Removable Drive Menu
- Remove Alt+Tab Delay v2
- Remove Dropdown Arrows
- 已集成在 Unite 里。
- Screenshot Window Sizer
- Sound Input & Output Device Chooser
- Status Area Horizontal Spacing
- TopIcons Plus
- Tray Icons
- Ubuntu AppIndicators
- Ubuntu Dock
- Unite
- User Themes
- Vitals
- Window List
- windowNavigator
- Workspace Indicator
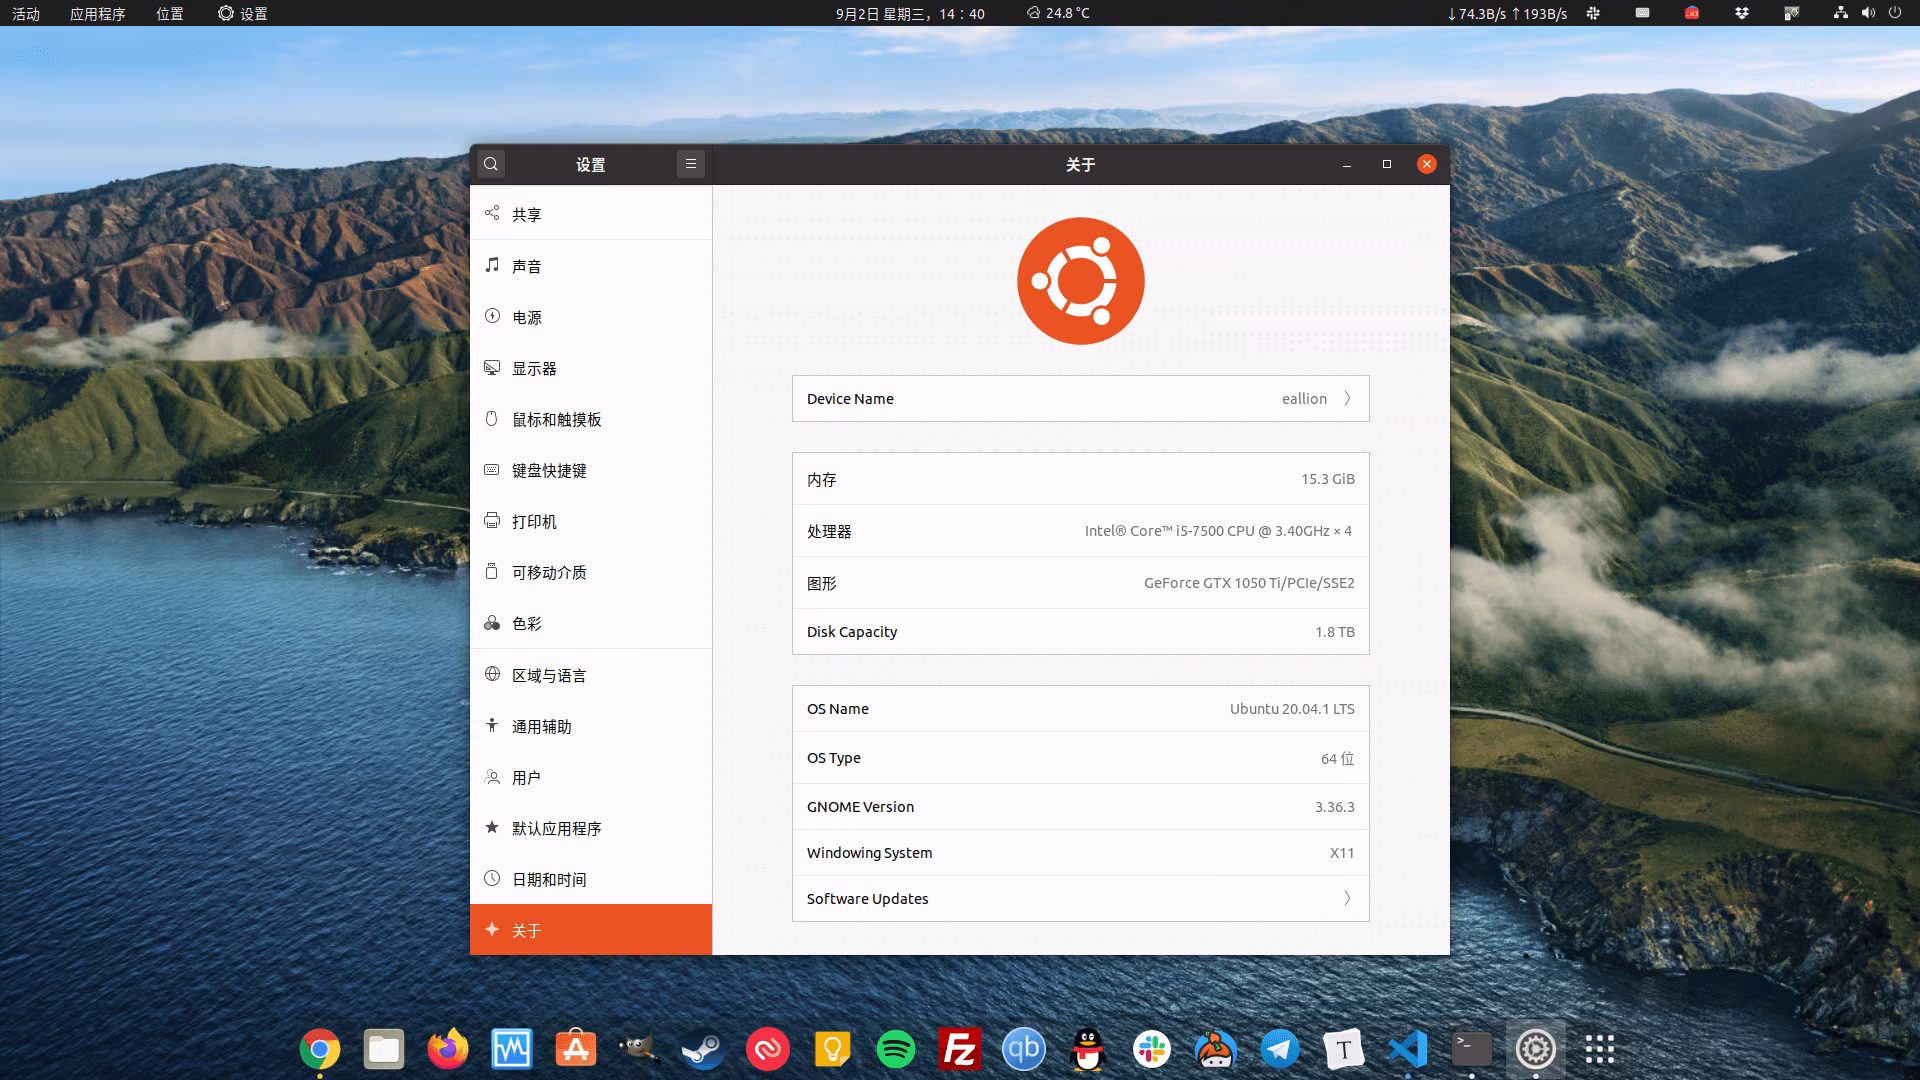
28、体验 macOS Big Sur 动态壁纸
28.1、下载 Big Sur
cd ~/Pictures
git clone https://github.com/eallion/Big-Sur-Ubuntu.git
28.2、设置
打开 Gnome Tweaks
找到 外观-背景
选择 /home/xx_username_xx/Pictures/Big-Sur-Ubuntu/focal.xml 文件
选择 Zoom 调整方式
安装常用软件
推荐一些常用的软件:
- Authy
sudo snap install authy --beta
- Filezilla
sudo apt install filezilla
- Gimp
sudo apt install gimp
- Steam
sudo apt install steam
- Telegram
sudo apt install telegram-desktop
- Virtualbox
sudo apt install virtualbox
- VLC
sudo apt install vlc
- Docker
- Dropbox
- Hugo
- Keybase
- MouseWheel
- Neteasy 网易云音乐
- Nginx Mysql PHP
- OBS
- PicGo (snap install with
--danderous)
- qBittorrent Enhanced
https://github.com/c0re100/qBittorrent-Enhanced-Edition
https://github.com/poplite/qBEE-Ubuntu-Packaging
- Slack
- Spofity
- Termius
- Typora
- Visual Studio Code
通过 Snap 仓库安装有中文输入 Bug。
https://code.visualstudio.com/Download